Posts
Posts


 This is my first attempt at Chicago style deep dish pizza. I found an authentic recipe I am excited to share:
Crust:
1 1/2 packages yeast
1/2 Cup warm water
1 Tbsp. Sugar
3 1/2 Cups unbleached all purpose flour
1 tsp Salt
1/2 Cup Cornmeal
1/4 Cup vegetable oil
1/2 Cup water
Mix the warm water, yeast and sugar together and set aside for the yeast to bloom. Add the rest of the ingredients to the mixing bowl. Finally add the yeast/water mixture and kneed it to window pane.

Sauce: 1 28 oz Can 6-1 Brand tomatoes
2 Tbsp. fresh chopped basil
1 tsp Oregano
Salt to taste.
As my family happens to be fans of garlic and spicy food, we added a bit of Frank's Red Hot and about a tablespoon of minced garlic. After finishing the Pizza, my husband recommended adding some sugar as well to the sauce. Once again, all of these add-ins are to taste and your personal preferences.
As my family happens to be fans of garlic and spicy food, we added a bit of Frank's Red Hot and about a tablespoon of minced garlic. After finishing the Pizza, my husband recommended adding some sugar as well to the sauce. Once again, all of these add-ins are to taste and your personal preferences.
The key to this sauce is the 6-1 Brand tomatoes-according to my source this is the brand of tomatoes that are used all over Chicagoland. I would agree it made a difference.
Add all the ingredients together and stir, set aside.
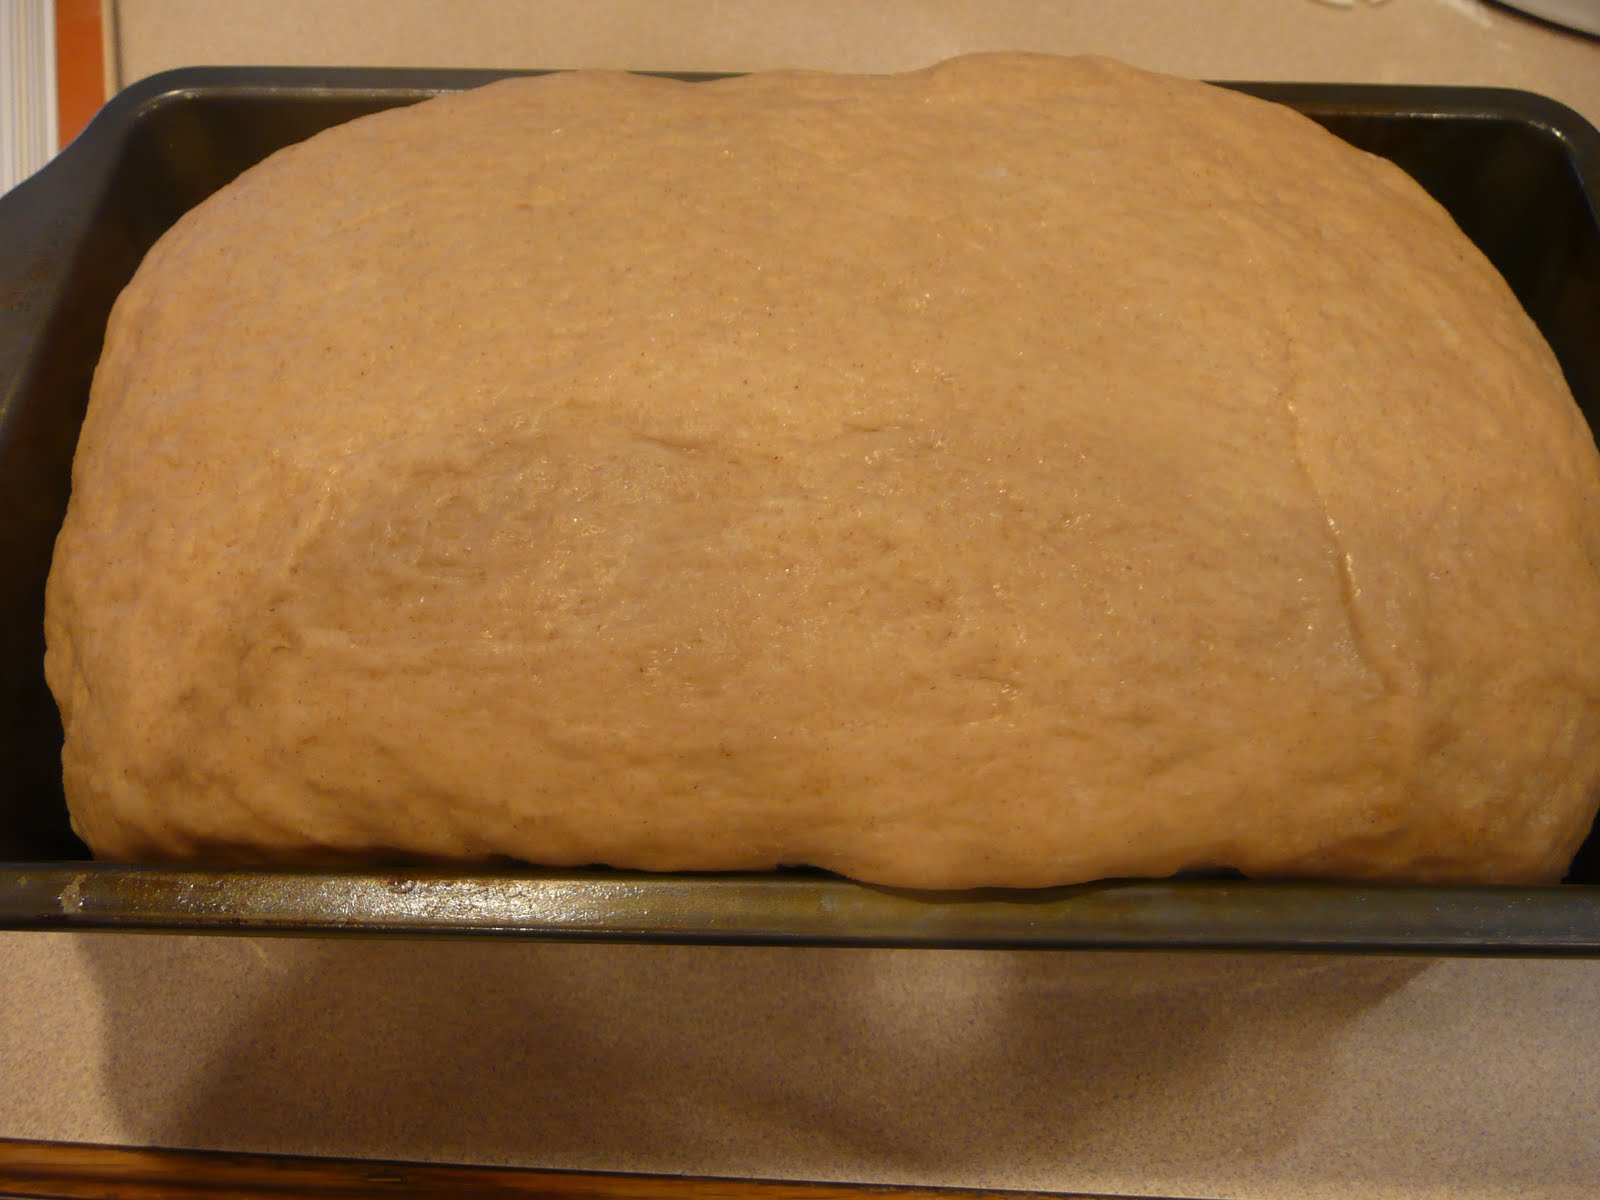
 Let the dough sit at room temperature until it doubles. Once the dough is doubled kneed it for 2 minutes. Put it in a 14" round pizza pan. Be sure to oil the pan. Let the dough ball rest for 10 minutes.
 Using your hand form the dough into the pan.

Once the dough is formed use a fork to dock the dough

Bake the dough at 475 F. for 4 minutes to set the dough. Brush the dough with olive oil.

Cover the bottom of the dough with sliced mozzerella
 Next add the toppings-I used pepperoni that is purchased at a local Italian speciality store...Fraboni's.
 Cover the pizza with some shredded mozerella cheese.
Add the sauce.
We also added some grated parmesan to the top of the pizza.
 Bake the pizza the first 5 minutes at 475 on the very bottom shelf of the oven to get the crust really crisp. After 5 minutes move the pizza to the middle shelf and bake for 30 minutes.