Search This Blog

Sunday, May 1, 2011

Bear Claws


I am so excited to share this recipe. I have wanted for years to make a bear claw but never knew how. With the onset of the internet I googled away and did not find many hits. I researched cookbooks and have come up with my own version based on others that I found. To form a bear claw I learned by searching on utube bear claw and found an instructor from I believe the French Pastry School that posted a demo. I hope my pictures and directions will help others to unlock the mystery of the bear claw.

Bear Claws
Yield 12 large

Dough:
1 Scant Tbsp. Yeast
¼ Cup water
¾ Cup Heavy Cream
2 Eggs
1 Egg Yolk
3 Tbsp. Sugar
1 tsp. salt
1 tsp ground cardamom
3 ½ Cups unbleached all purpose flour
2 sticks very cold unsalted butter

In a separate container add the water, cream, yeast, eggs and egg yolk and whisk together and set aside.

In the mixer with the paddle attachment add the flour, sugar, salt, cardamom. Then cut the butter into chunks and add to the flour mixture and mix it until the butter is the size of peas. Once this is done add the liquid. Mix it until it is well incorporated but no need to go to window pane.


Place the dough in an oiled bowl and cover with plastic and store in the refrigerator over night.

Almond Filling:
3 Tbsp + ½ tsp almond paste
¼ Cup + 1 ½ tsp sugar
4 Tbsp. unsalted butter-room temp.
1 Egg
½ tsp vanilla
1 tsp almond extract

1 ½ Tbsp. unbleached all purpose flour
In the mixer with the paddle attachment cream the almond paste with the sugar then add the rest of the ingredients and cream it all together.

Almond glaze
1 cup powdered sugar
1 tsp. almond extract
3 Tbsp. liquid-water, milk, cream, or ½ and ½ .

Mix all together and microwave it right before using.

Garnish
½ Cup toasted Almonds

Assembly

Roll the dough out and cut into a rectangle. Fill the dough with the almond filling and form into a bear claw. Let the bear claw rise then bake for about 15 minutes or until golden brown at 350 F. Once out of the oven immediately drizzle the glaze over the bear claw and top with the toasted almonds. Glaze may need more or less powdered sugar and liquid depending on temperature in the kitchen. The glaze will get more runny once heated and then give a nice “set” once it cools on the bear claw.


Saturday, April 30, 2011

BBA Challenge: Lavish Crackers

This weeks challenge was Lavish Crackers. I have to admit I'm 2 challenges behind and plan to get them caught up. This recipe was nice and easy. What was hard was the kneeding of the dough. Had to do it by hand but I trained my Husband to do it and he kneeded the dough very nicely. In fact I think he was digging it!


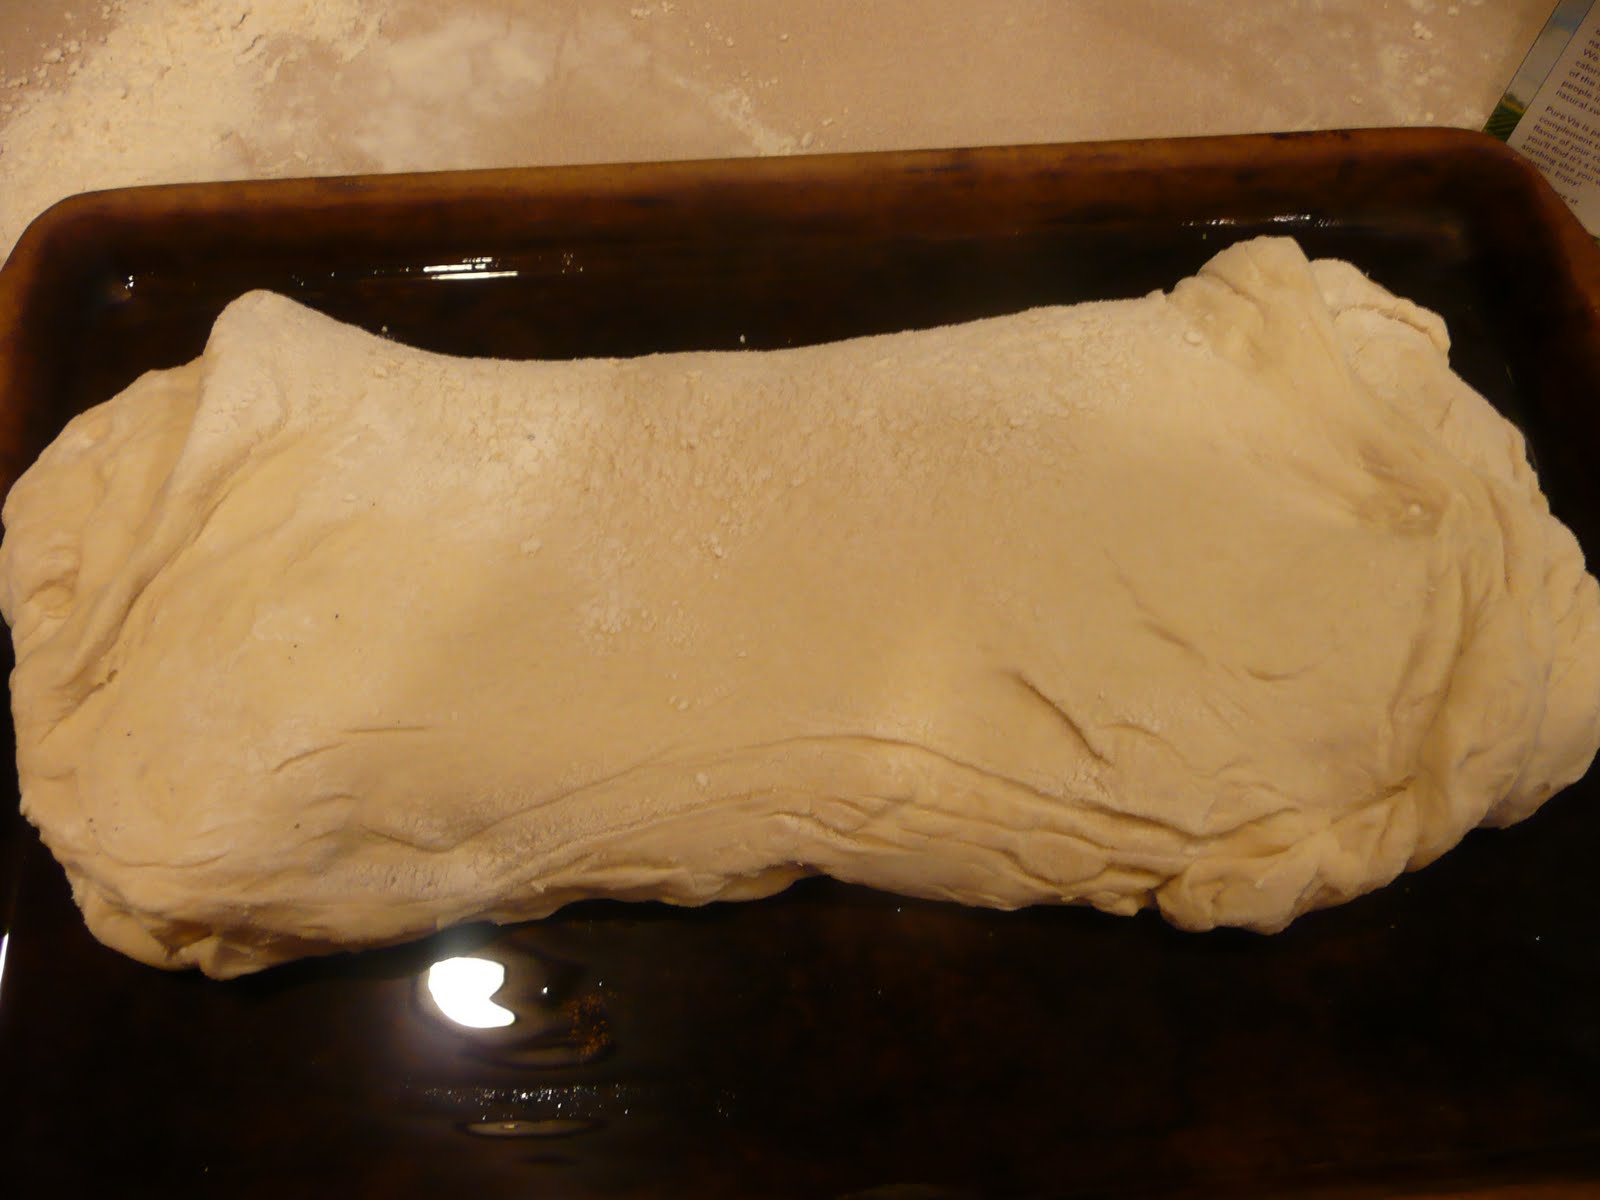
I let the dough proof then turned it out onto my stone and rolled it out on the stone.


I used a combination of spices that included sea salt, cracked peppercorns, sesame seeds, caraway seed and paprika.


I cut the dough into cracker shapes with a pizza cutter.


The crackers came apart very easily. They are very crunchy and flavorful. Thank you Chris from http://www.akuindeed.com/ for hosting our challenges.


Sunday, April 24, 2011

Doughnuts 2

Today is my birthday and it is also Easter/Resurrection Sunday. This Holiday happens on the 24th of April about once every 300 years. So today was fun. I got up at 2 am and started frying doughnuts. When it is coffee and doughnut time at Church...perish the thought of store bought doughnuts. My Sister was up visiting so she got up and helped me. I did danish, bear claws, doughnuts, coffee cakes. All the fillings were scratch made and I made ganache with imported Belguim chocolate. The above picture is the back hatch of my car. There is more in the back seats!!


Here is the before and after of all the dough. My Sister and I figured we worked on this project 23 hours total!! Everyone loved it!


Friday, April 8, 2011

BBA Challenge: Baguettes


Well it's Friday night and the weekend is upon us and I am up late baking bread!! I realize I am not ready to move to France and get a job..but here is my first attempt at a french baguettes. I made one error I will explain down below.

Yesterday I made my pate fermentee and let it age in the refridgerator. Today I pulled it out of the cooler and cut it into 10 pieces and let it proof.


I then added the pate fermentee to the rest of the dough ingredients and mixed it. I let it proof up in an oiled bowl then cut the dough into 3 pieces and formed the baguettes. So far so good.


I made my homemade couch for the baguttes and here is where I messed up. I used wax paper and used empty paper towel rolls, a hot pad and the wax paper box to be the support. What I messed up on is I should have put some flour down on the wax paper as when it was time to transfer my dough to the peel the dough was sticking to the wax paper and it got missed shaped and did some deflation. I'll know for next time!


I slashed the dough and baked it. My homemade steam injection oven worked great. The flavor of the baguettes are wonderful. Thank you Chris from http://www.akuindeed.com/ for hosting our challenges!


I will definatly need to be practing this bread again but I have one batch under my belt-I think I'll do awesome next try!!!

Wednesday, April 6, 2011

BBA Challenge: Focaccia


This weeks challenge was focaccia. I admit I was dragging my feet on this one as I have made so many focaccia for years at a previous job. I was remembering the bakers which taught me my technique and reading the book, this technique is SO different. It is human nature to not embrace change so much as I was stuck in my way's but....I am a bread bakers apprentice so I must try it. I am SO glad I did. After all those years I will now have a new recipe and a new technique!!!


I mixed the dough and left it on the counter to rest. I then went thru 3 times of stretching it and folding it like an envelope. While the dough was resting I made my herb oil. I used fresh herbs, basil, thyme and rosemary. I added some garlic, salt and pepper.


I decided to put my dough on my stone. I did not do the wax paper. I was a little nervous if the dough would stick but it worked. I oiled up the stone and put the dough on the stone then added the dough and shaped the focaccia.


I formed the focaccia and put in the the refridgerator over night. It rose up some. I then left it on the counter and let it rise another 3 hours. I baked the focaccia and half way thru the baking time I sprinkled a mixture of parmesan and mozerella cheese. I was really happy with how my bread turned out and this is the first recipe my family got excited about!! Thank you Chris from http://www.akuindeed.com/ for hosting our challenges.

Tuesday, April 5, 2011

Oriental String Work Cake

This is the sample cake I made at a cake decorating class I took with Barb Evans this past weekend. All the work is in royal icing. What is cool is the side work of the cake. You have to flip the cake upside down, do the string work let it dry and flip it back over again. Very risky but very beautiful. Of course my cake has many flaws but thought it would be fun to document my first tries!